Applying for a Concurrent Program
Check out our step-by-step guide that walks you through the online application process for applying for a concurrent program.
Note: if the concurrent program you want to add is offered by the faculty you are currently admitted to, simply contact your faculty. If you have questions about the concurrent program, request to speak with your Academic Advisor. They will be able to add your current program and you will not need to submit an application. If you are a student in Continuing Education (CCE), you must contact the CCE admissions office to add a concurrent program.
 Go to: https://apply.uregina.ca/apply/
Click on "Log in", or click on "Create an Account" if you have not used the new application portal yet.
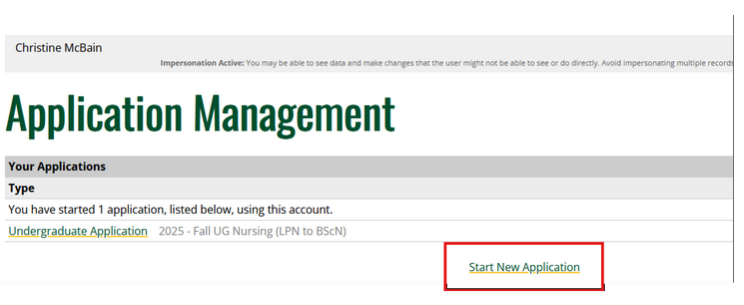 Click on "Start New Application".
 Click on Undergraduate Application, then on "Create Application".
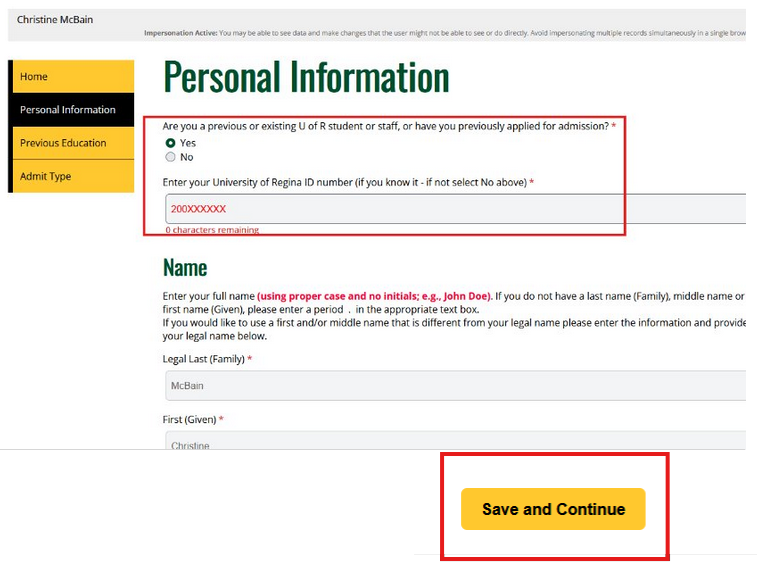 Complete the "Personal Information" section.
Click on "Yes" if you are already a UofR Student.
Continue to fill out the rest of the Personal Information page, then click "Save and Continue".
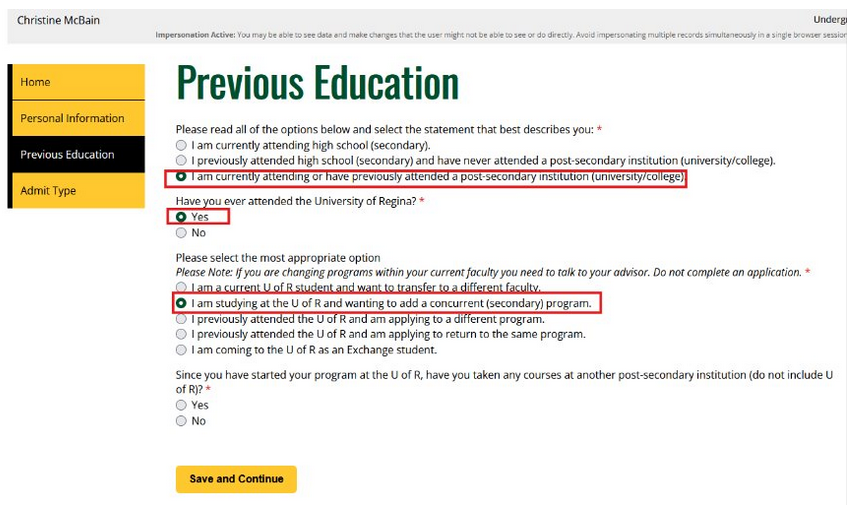 On the "Previous Education" page:
- Select "I am currently attending or have previously attended a post-secondary institution (university/college)".
- "Have you ever attended the University of Regina?" - Select "Yes".
- Select "I am studying at the U of R and wanting to add a concurrent (secondary) program".
The last question is asking if you have attended any other post-seconday institutions other than the U of R after having started at the U of R. Choose the appropriate response.
Click "Save and Continue".
 On the "Admit Type" page, click on "I am confirming my admit type of Concurrent (Seconday) Program".
Click "Save and Continue".
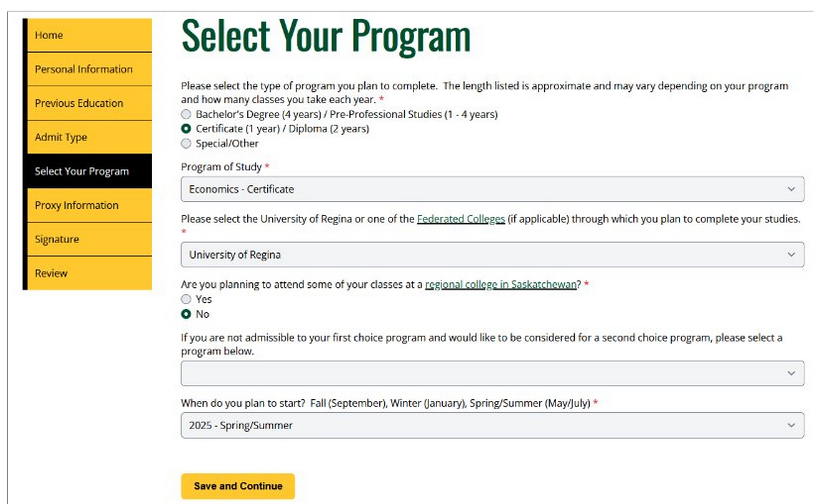 On the "Select Your Program" page, select the program type you would like to add as the Concurrent Program.
Select the desired Program of Study.
Select the University of Regina or a Federated College.
Answer the Regional College question.
Leave the second choice program blank.
Select a term.
Click "Save and Continue".
 On the "Proxy Information" page, answer the question if you wish to assign a proxy or not.
Click on "Save and Continue".
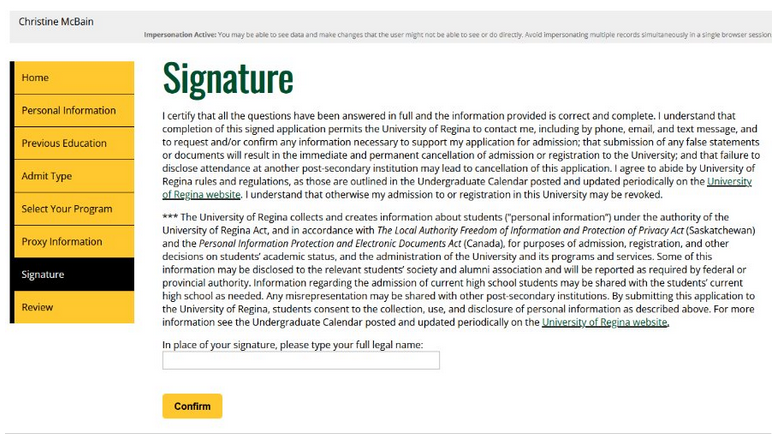 On the "Signature" page, type your name and click "Confirm".
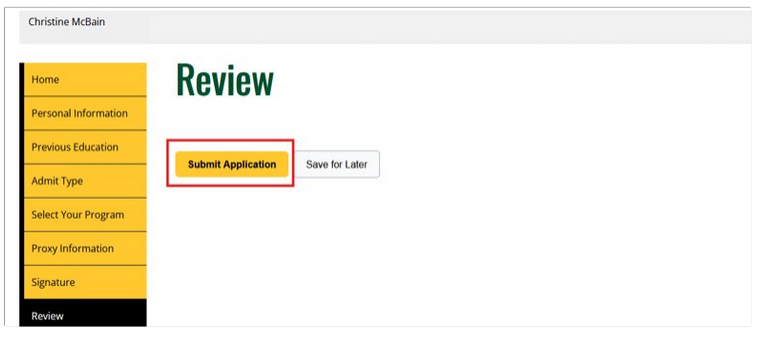 On the "Review" page, click on "Submit Application".